


Room Refresh Plans: Son's Room
- Tanieka Harris

- Apr 21, 2021
- 4 min read
Updated: Jul 27, 2023

Not much has been going on here in regards to design and decorating since the kitchen reveal. (Working a day job part time, while growing a tiny human inside of me doesn't leave much room for decorating.) But I’d like to take you all along with the revamp I have in mind for one of my favorite rooms in the house: my son’s room. Most of you were here last year when I made over his space, but if you weren't, here's my last blog post talking all about it.
With him turning 5, I wanted to update the space in reflection of his current interests. I began working on the room makeover around October 2020. Here's a bit of backstory: I finished space in March 2020. (Our son was 3 then). I revealed the room in April, right before his 4th birthday. In just a year, my precocious kid has grown and interests are becoming different. I always want a space to grow and evolve as we ourselves grow.
I’ve been asking my kid what isn’t working for him in the space, and what he wants to see more of/add. So far, he has only requested:
-Bunk Bed
-More art.
And since he’s now requesting a bunk bed, and more art, I felt the need to update the space a bit. And with the bunk bed, of course I have to change up a couple of things. Like the art above the bed, or adding sconces to the wall since the bunks can get a little dark. And if you’ve ever read the book 'If You Give A Mouse A Cookie', I'm the mouse.
With those changes, I’m using this opportunity to revamp the entire room. My decorating heart just can't resist! I received a rug from Loloi that was the first change to happen. Here's a sneak peak of it up close! (Linked below.)
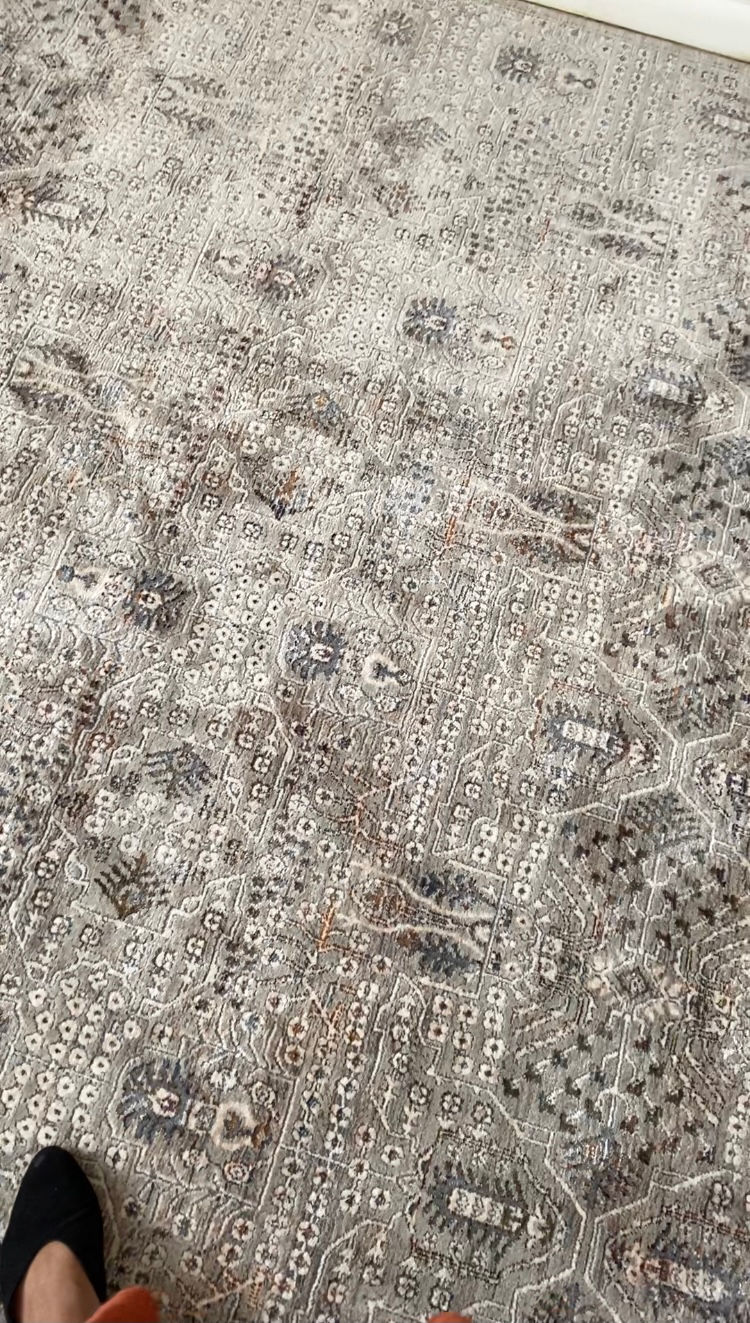
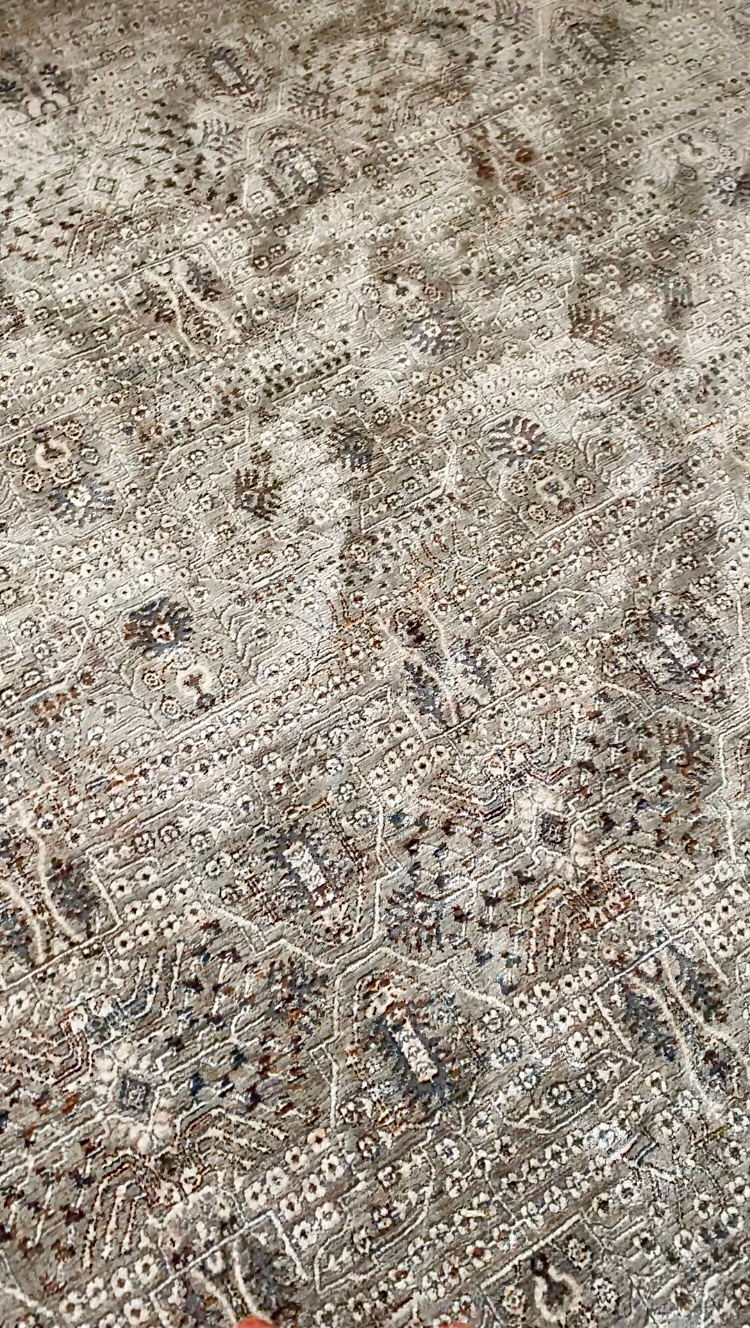
I love subdued tones in the rug! (Linked below!) Theres some hints of green, blues and rusts playing ever so subtly against the warm grey foundation. A perfect rug to anchor the space!
And in true IYGAMAC fashion, with the rug change, I want to also change the color story happening in the space. Well, more so tone it down. I loved the tones playing in the previous design, but with the addition of the bunk bed, I thought this would be the perfect opportunity to add in some complementary tones to the finish I chose. More on that in a bit!
For the previous room design, I pulled primary colors from the rug to incorporate throughout the space. With the new rug, some of the colors I originally pulled no longer make sense in the space.
Another reason why I want to tone down the color story; I’m going with a warm Walnut for the bunk bed! This one arrived a few weeks ago, and I’m loving it in the space! (Will show more soon!)
Warm woods are showing up everywhere this year. We already have so many beautiful warm wood tones happening with the pieces I’ve thrifted throughout the house. I definitely want to bring that element into our son’s space to flow with the rest of the rooms this time around.


I think changing the bed situation to a bunk bed is a big change in this small space, so it’s only right that we reimagine the entire room! With a bunk bed, I’ll have to:
- remove the art above the current bed
- add new bedding (which is an excuse to change it altogether)
- add sconces inside of each bunk.
After the updates are added, I still want this space to look and feel personal to our son's interests and age, but more evolved. I'm a true believer in allowing a kid's space to be a reflection of them.
Let's talk about the moodboard! Now in my moodboard history, I don’t usually go with the first design. I always end up tweaking it or changing it altogether. So take this one with a grain of salt. This is already version number 3!
Heres a VERY ROUGH draft of what I have so far:
Mood Board…

Can you see it? You may have to squint a little.
Color story: (Warm woods, olive green, red, marigold, black,)
Materials: (Warm Woods, Polished Nickel, Brass, Mixed Print textiles)
FURNITURE AND ACCESSORIES I'M BUYING:
Warm Wood Bunk bed: (Ordered this one!)
Polished Nickel Knobs: (These ones!)
Rug (Gifted this one from Loloi!)
Sconces for bunks: (Purchased These!)
Flush Mount: (This one arrived today!)
Bedding: (Duvet, Wool Throw)
STILL NEED: Vintage Pieces: Source vintage Wall Mirror
Art with vintage frames: (Thrifting most of these)
Toy Trunk (Vintage or vintage look.)
Curtains (Saving up for custom ones from Etsy!)
THINGS THAT ARE STAYING:
Striped walls Striped dresser Red Desk
Ticking Stripe Bedskirt (Too good to let go!)
Existing Art (In new frames)
Shelves (Acrylic shelves and above dresser shelves)
TO DO:
✔️ Bring in new rug
✔️ Put together bunk bed Hang new ceiling light Patch in tape where there are gaps (Of course I didn't tape behind the previous bed!)
Re-Do Gallery wall
Re-Style shelves Re-Hang curtain rod Remove stickers from red desk (Oh boy!) Touch up red desk paint
This is by no means a complete overhaul or renovation. I'm simply taking you along my [slow] thought process of how I update an already adequate space. If you're still here, you're too kind. Next time we meet again, I hope to have the new flush mount hung, and a plan for the new gallery wall. See you then!
Related Posts:
** I earn a small commission from some of the links in this post. If you happen to purchase from any of the links, it is at no extra cost to you. Thank you for supporting this blog!


Comments